Another method of cloning is plant tissue culture, also known as micropropagation, or in-vitro propagation, from the Latin, meaning “in glass”. To put it simply, tissue culture is essentially sterile cloning. Multiplying cells and plants in an exponential fashion in a sterile environment.
Plant tissue culture has been around for a long time. Experimental plant tissue culture first began in 1898, but it didn’t come into widespread use until the 1950s, in the commercial orchid industry. Of course, due to the historic legal hurdles, research in the field of cannabis tissue culture is still in its infancy
Plant Tissue Culture Uses
- Increased Speed of Growth
- Breeding
- Propagation
- Genetic Rejuvenation
- Genetic (Germplasm) Preservation
- Virus Elimination
- Genomics
- Genetic Engineering
Some plant tissue culture techniques are more complex than others, and some methods may seem overwhelming or out of reach at first to the beginner grower. Currently at THC Design, we primarily use only the most basic, non-GMO plant tissue culture techniques as a method for cloning and for eliminating pests and disease.
As we gain greater understanding of the full spectrum of cannabinoids and terpenes found in cannabis, we’ll be able to “dial-in” the genetics of our strains to enhance certain traits or increase the potency of select cannabinoids or terpenes. Designer, bespoke cannabis.
The Plant tissue culture process:
Sterilization of equipment and work space is critical throughout.
Initiation Phase (1 to 2 weeks)
Pathogens will typically grow in the media or express themselves in the plantlets within the first two weeks. By observing the traits of the plantlets, having the plant tissue tested at a third-party commercial viral testing lab, or performing a strip test, we can determine if elimination of the pathogen was successful or not. The successfully cleaned and healthy plantlets are then divided, added to a multiplication media and then moved to larger containers. During this stage, the plantlets must be divided and transferred to fresh nutrient media regularly. We typically get 5 generations of multiplication before the genetics start to degrade.
- Increased Speed of Growth
- Breeding
- Propagation
- Genetic Rejuvenation
Initiation Phase (1 to 2 weeks)
- Procedure
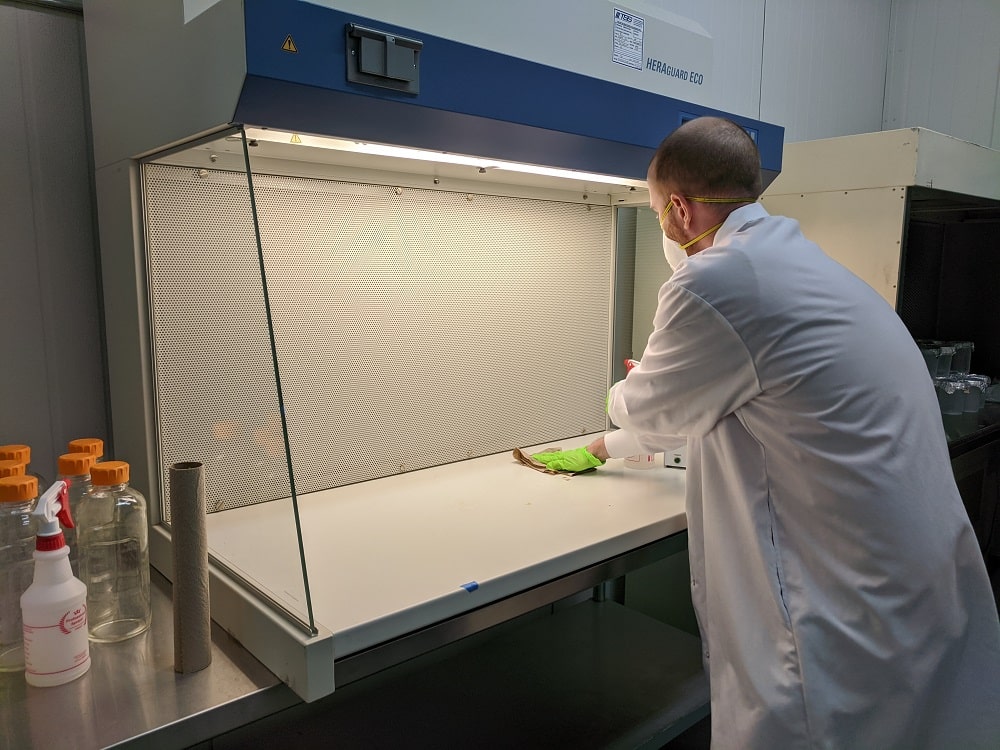
- Turn on the laminar flow hood, and allow it to run for at least 30 minutes before attempting the procedure. If you do not have a laminar flow hood, use an alcohol lamp/ burner and work as closely as possible to the flame.
- Sterilize the laminar flow hood with 70% Ethanol. Do not spray directly into the back of the hood as this can cause damage to the HEPA filter.

- Turn on your bead sterilizer. It will take at least 20 min to warm up to temperature but this may depend on the manufacturer.

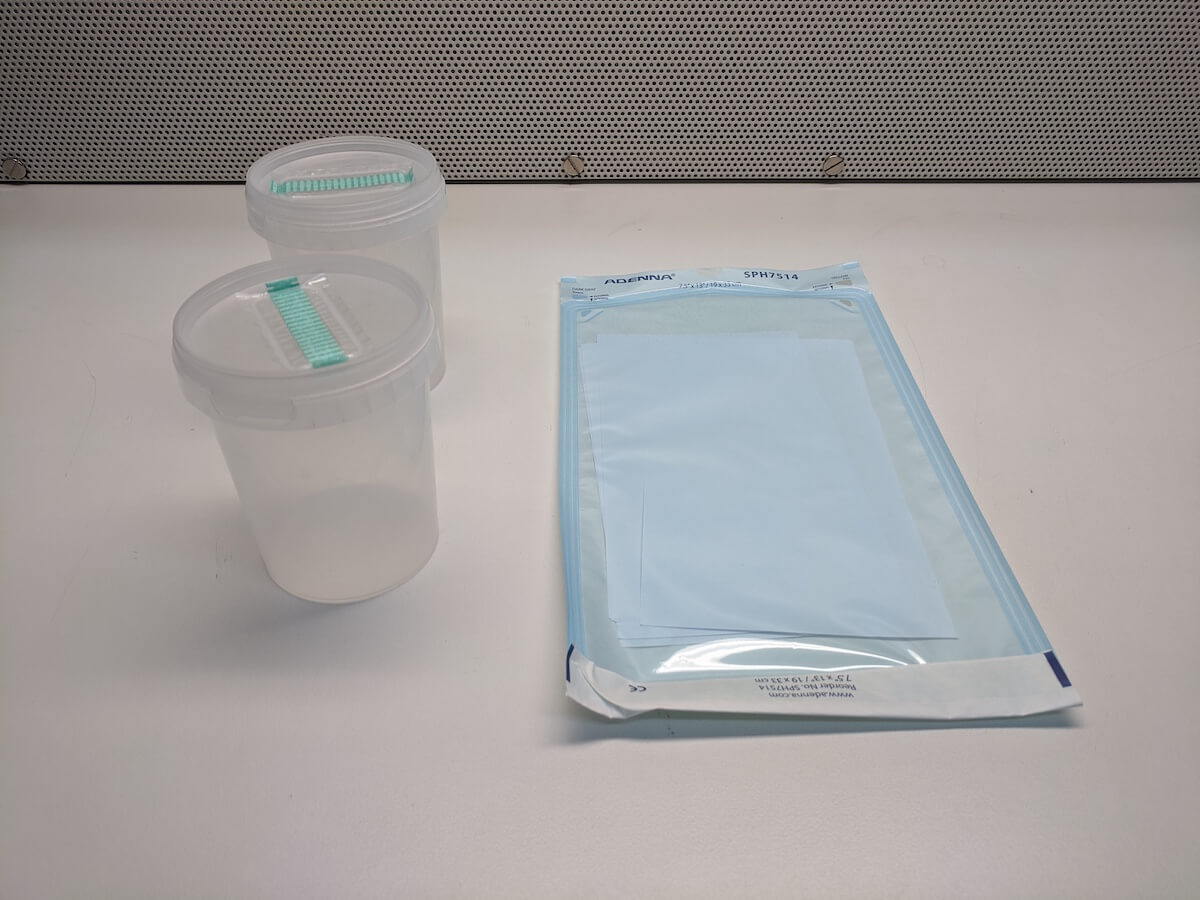
- Sterilize a pack of paper in an autoclavable pouch, the vessels you will eventually place the plants in, several liters of water, and your tween 20 in your autoclave. Make sure to run liquids on a liquid/ slow exhaust cycle (never fill containers more than 50% full) and the paper on a dry cycle.

- Prepare a batch of media as follows:
- Obtain a container that is large enough to hold the amount of media you want to make.
- Fill the container with the purest water available. Distilled, RO, or DI water is ideal. If you are making 1L, add about 90% of your total volume, or 900 mL.
- Add vegetative cannabis nutrients until you reach 1.5 EC

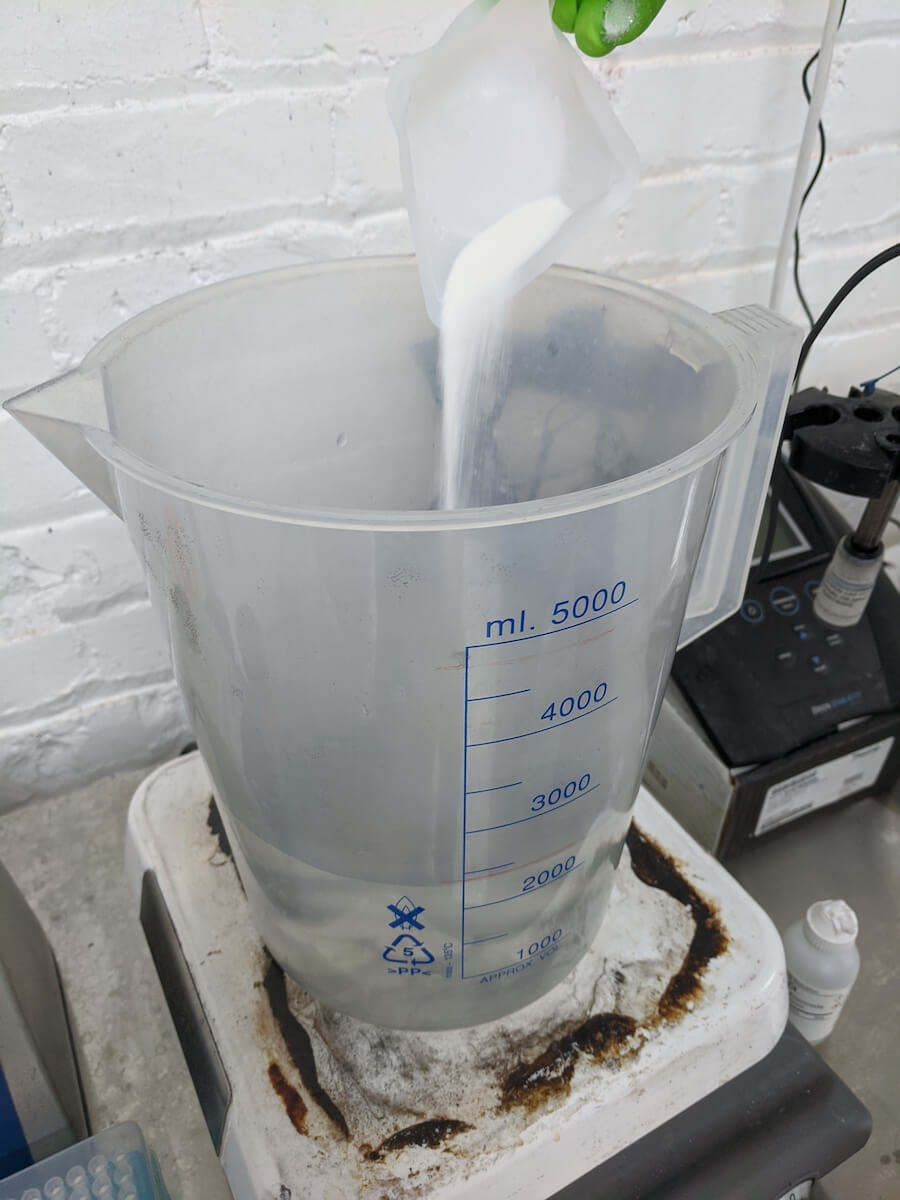
- Add 30 g/L of sugar.

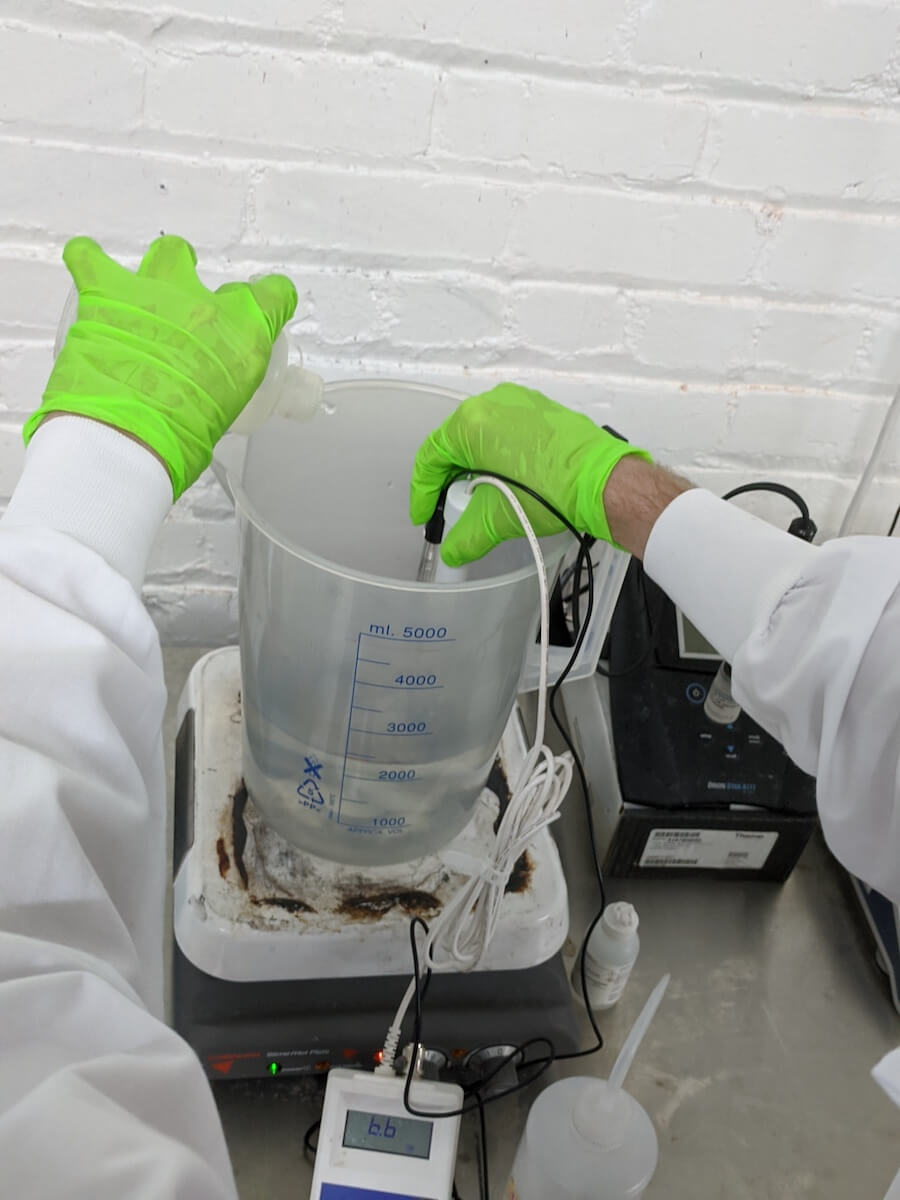
- pH the solution to 5.7 with 1.0 M HCl or NaOH
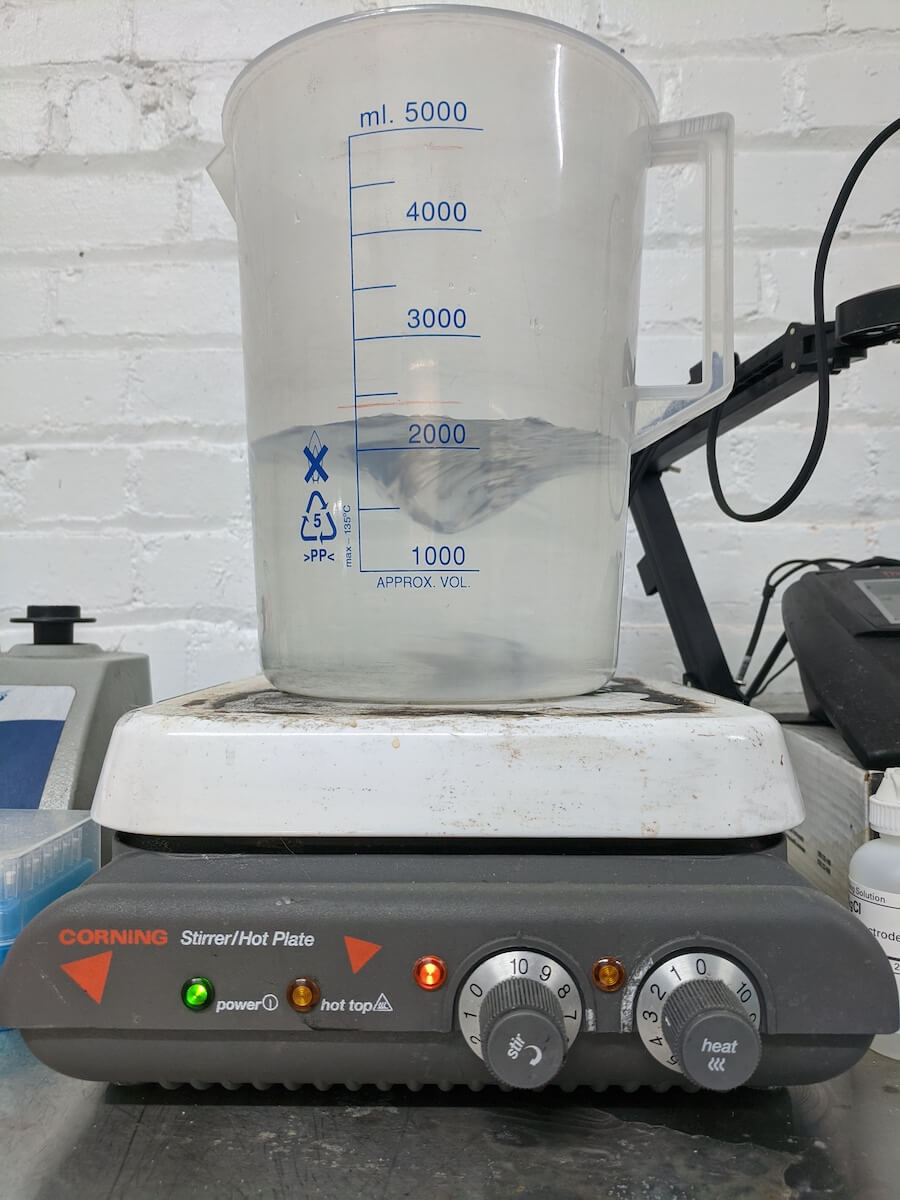
cannabis plant tissue culture - Add 6 g/L agar (note- agar will not mix evenly unless you heat the solution on a hot plate. If you are dividing your media into multiple bottles, it is best to add the appropriate amount of agar to the individual bottles- e.g. for a 1L bottle with 500mL media in it, add 3.5 g Agar to the bottle).
- Pour your media into your autoclavable bottles. NEVER completely fill the bottle as it will overflow during autoclaving. Half full is a good target.
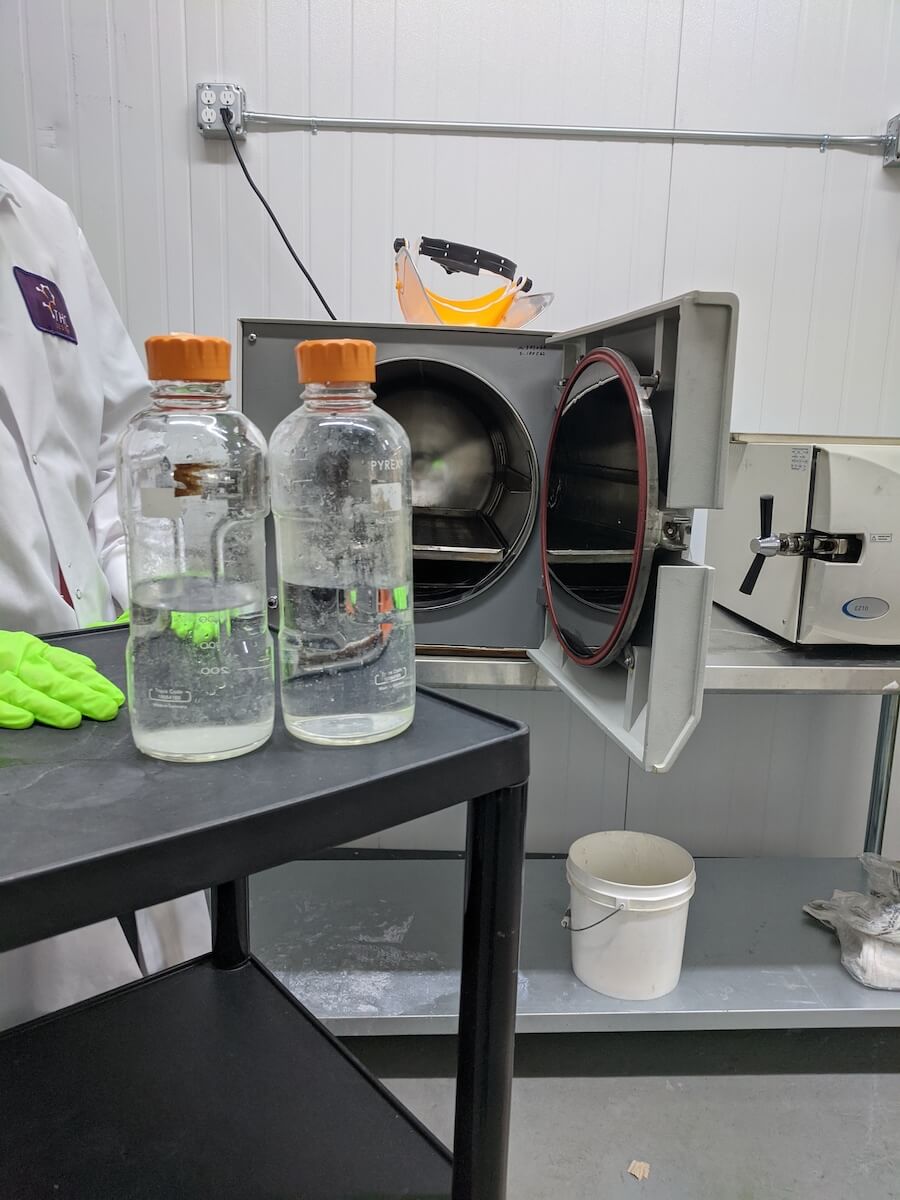
- Autoclave on a liquid cycle with 15 min sterilization time.
- When the cycle is done, remove the media (note autoclave is dangerous- see safety guidelines).
- Pour the media into your sterilized vessels, at about 50 mL, or 1-2in depth, per vessel.
11.Prepare a solution of 0.5% bleach (15% v/v) and 0.1% sterile Tween 20 (1g or 1mL per 1L). - Most bleach is 2.75%, so add 181.81 mL per 1L.
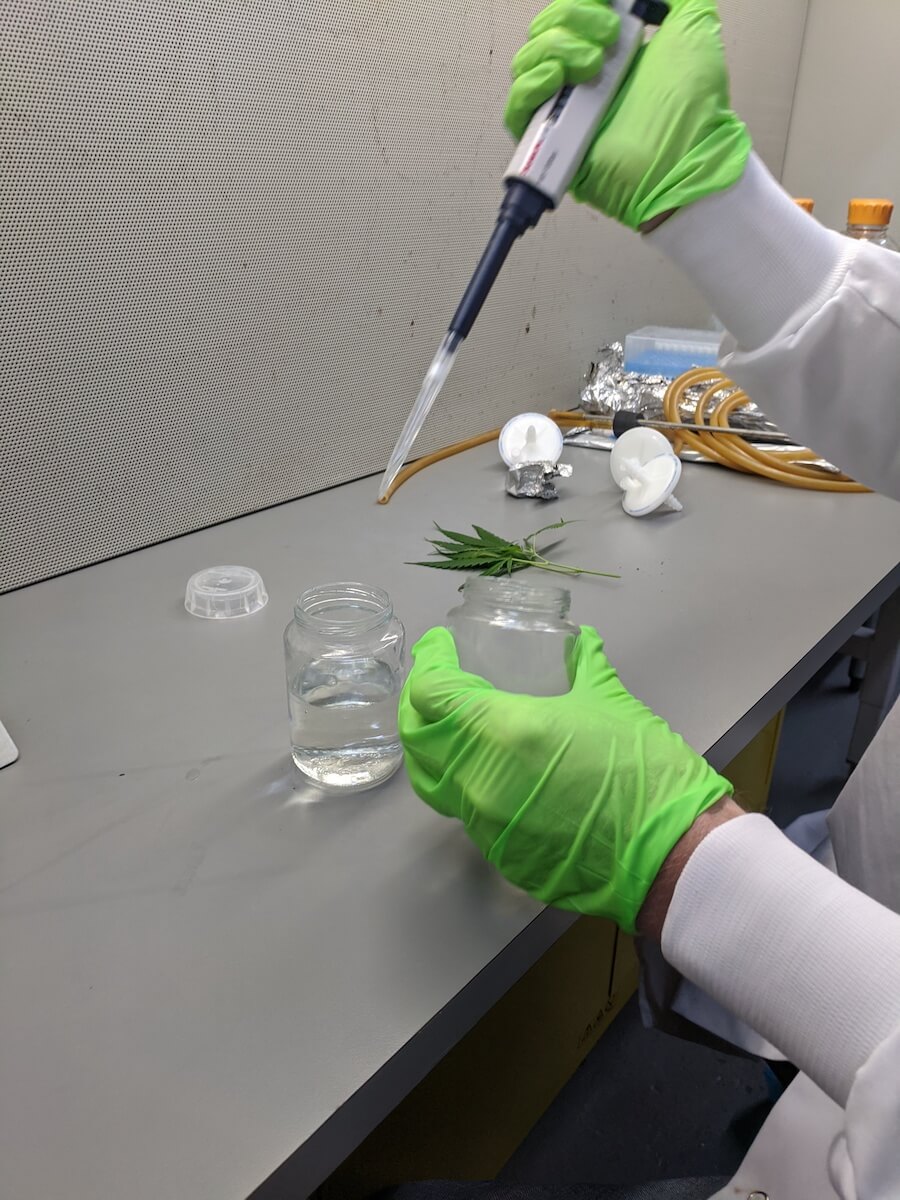
- Fill a container with a small amount of water, take cuts of your cannabis plant material, and place them in water. You can cut an entire branch off, then separate it into 2-4 inch segments that each contain one node. The new plant material will grow from the node. Ensure plant material is healthy.
- If storing cuttings for more than 1 hour before initiation begins, place the cutting in a cooler with ice. A wet paper towel may be wrapped around any exposed cuts in the tissue. In general try to get your cuts into water as soon as possible.
- Obtain a sealable sterilized vessel or container. Fill it about 80% full of your bleach/ tween solution. Add the cannabis segments to the container and seal tightly.
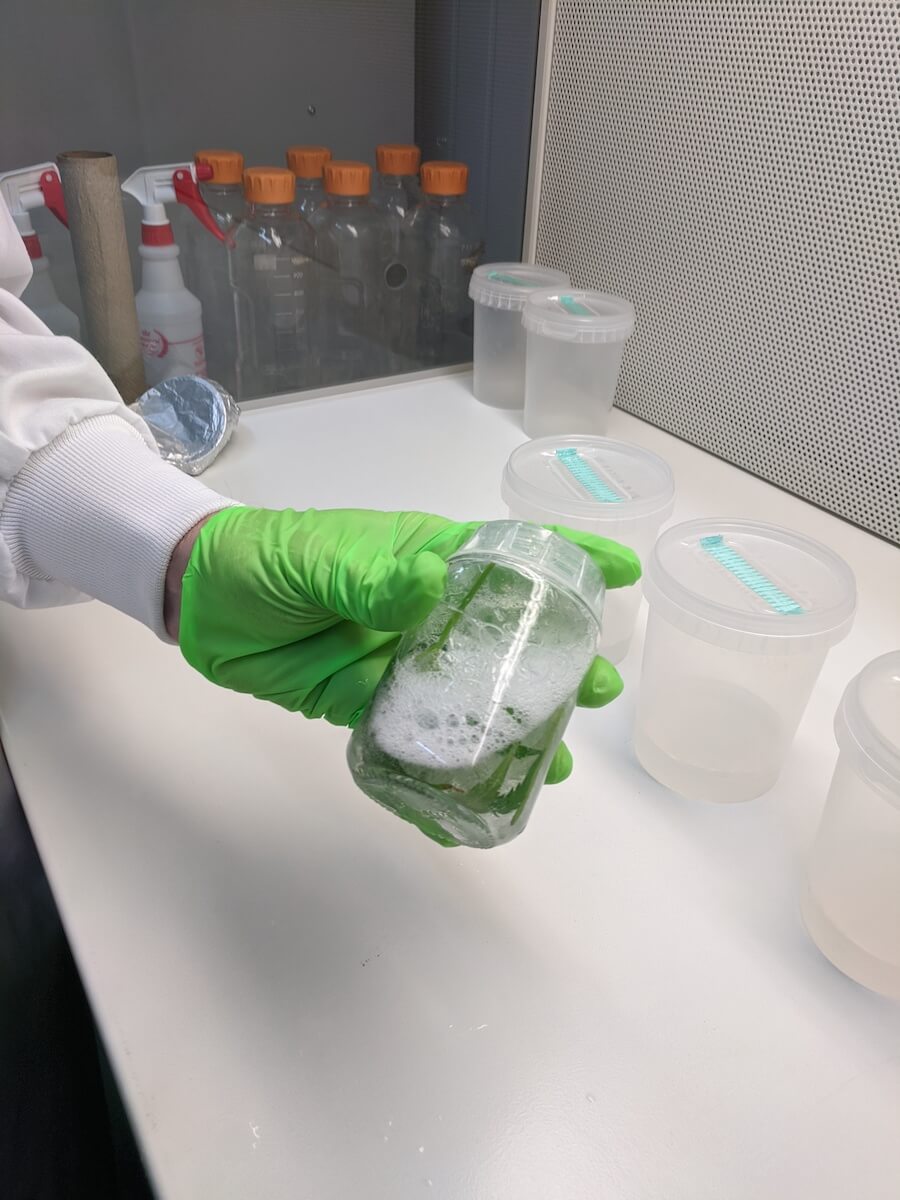
- Shake/ swirl gently for 20 min. Shake vigorously for 20 seconds at the end of the 20 minute period.
- The shaker table may be used for shaking.
- Transfer explants to another sterilized vessel filled ~80% full with sterilized water, and shake/ swirl gently for 5 minutes
- Repeat this step another two times.
- Using sterile forceps, transfer explants to a sterile piece of paper to soak up any excess water, then onto the media vessels you prepared, one explant per vessel.
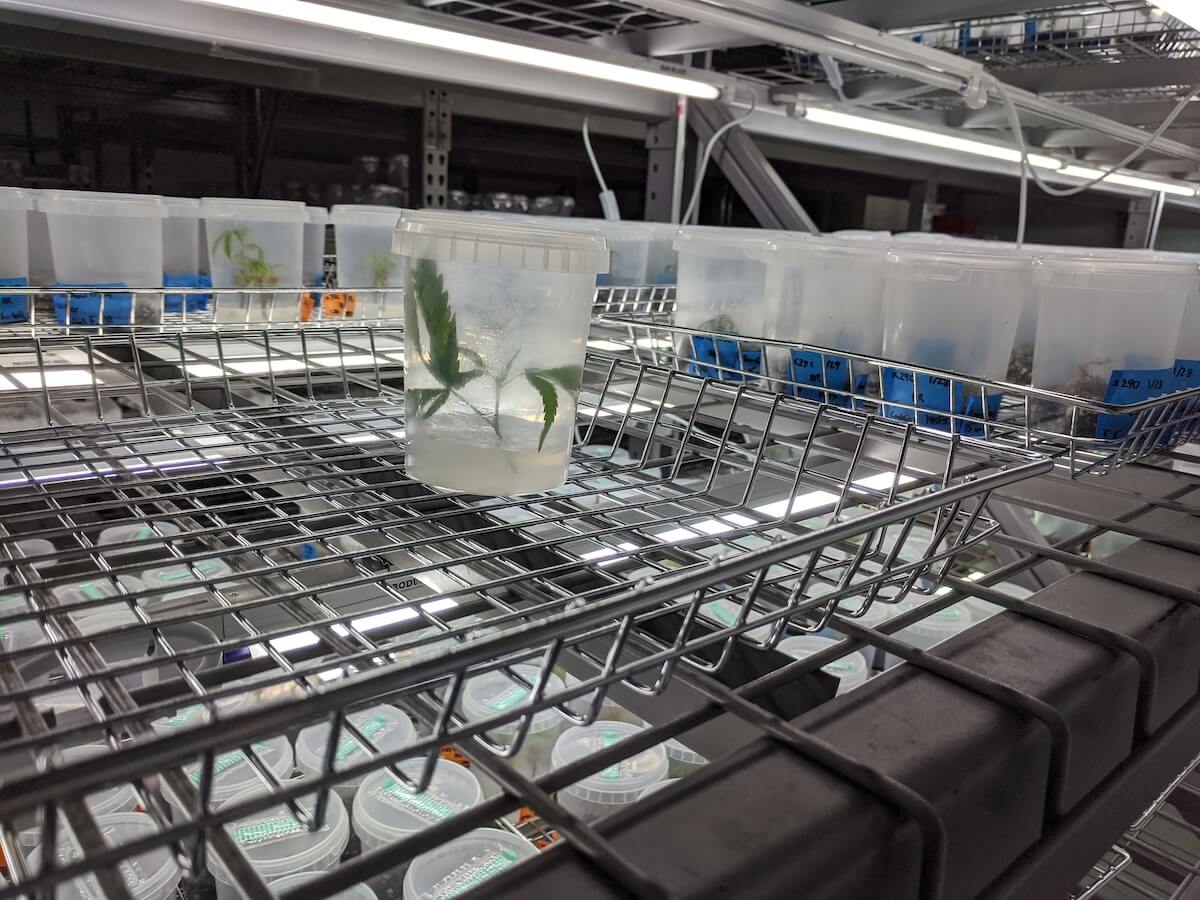
- The plant should be placed into the media upright so that it is supported, but not all the way down into the bottom of the vessel.
- Place the vessel on a grow rack at 25 +/- 2°C under 18 hour photoperiod for at least 3 weeks.

We are proud to be named to the Leaflink list for the 2nd year in a row. THC Design Estate Eighths ranked among “Best Selling Flower and Pre-Rolls” and we were commended for our Diversity in Leadership. You can view the rest of the winners here.